
Bulk Import of Workbooks
Use Bulk Import of Workbooks to catch up your schedule database with many Meeting Workbook (.mwb) files at once. It is meant for when you have a folder of older workbooks and want all of their weeks in the schedule database without opening and saving each one in the editor.
You can open it from the main window without opening the editor first.
ℹ️ Tip: The weeks are written to the schedule database that is in use. If you use a foreign language group, switch to that mode first, so that the weeks go to the right database.
Opening the window
On the main window, choose Import > Bulk Import of Workbooks...
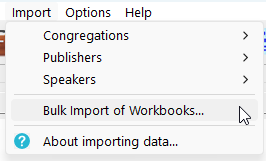
Figure 134. The Bulk Import of Workbooks command on the Import menu.
The same command is on the File menu of the editor.
The Bulk Import window
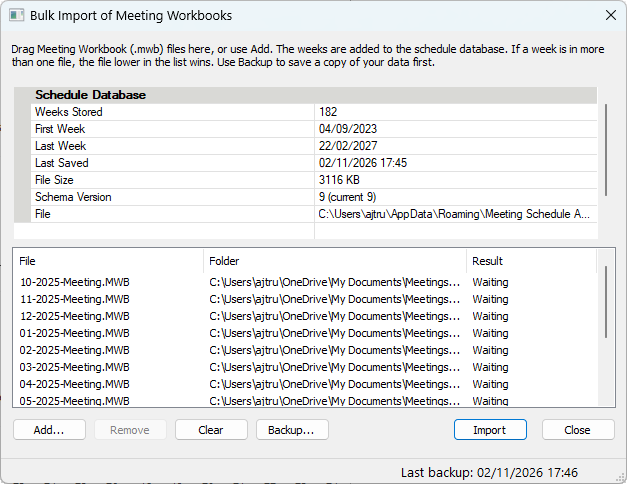
Figure 135. The Bulk Import window showing the schedule database information, the list of workbooks and the buttons.
The window has these parts:
- Schedule Database: shows what the database in use holds now, so you know what the import will add to. It lists the number of weeks stored, the first and last week, when the database was last saved, the file size, the schema version and the file location.
- The list of workbooks: the files that will be imported, with the folder each one is in and, after the import, what happened to it.
- The status bar: shows the progress of a backup or an import, and the date and time of your last backup. If no backup has been recorded, it says so.
Step 1: Back up your data
Importing can replace weeks that are already in the database, and a replaced week cannot be undone. We recommend that you make a backup first.
- Click Backup...
- Choose where to save the backup file. The window suggests the folder of your last backup.
- Click Save. The status bar shows the progress.
- A message tells you where the backup was saved.

Figure 136. The progress bar in the status bar while the backup is created.
This is the same backup as File > Backup on the main window, and it is added to your backup log.
Step 2: Add the workbooks
Add the Meeting Workbook files you want to import in either of these ways:
- Drag the .mwb files from Windows Explorer onto the list.
- Click Add... and select one or more files.
To change the list:
- Remove takes the selected files out of the list.
- Clear empties the list.
Note: If the same week is in more than one file, the file that is lower in the list wins. If it matters which version of a week is kept, arrange the files so that the one you want is last.
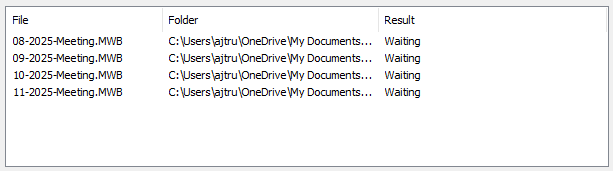
Figure 137. Workbooks added to the list, waiting to be imported.
Step 3: Import
- Click Import.
- If some of the weeks in the files are already in the database, you are asked what to do. Your choice applies to the whole batch:
- Replace the weeks in the database – the weeks in the files overwrite the ones in the database.
- Keep the weeks in the database and import only the new weeks – weeks that are already stored are left alone.
- The status bar shows the progress, one file at a time. To stop early, click Close or press Esc. The import stops after the current file.
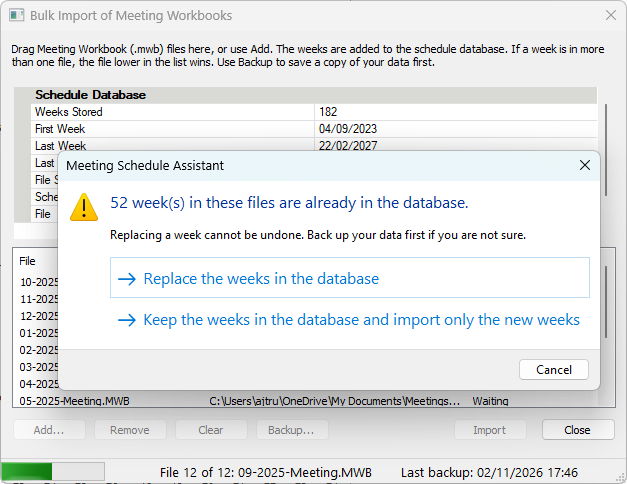
Figure 138. The question shown when some weeks are already in the database.
Each file is imported on its own. If a file cannot be imported, the other files are not affected.
The Result column
When the import finishes, the Result column shows what happened to each file:
|
Result |
Meaning |
|
New: 5, replaced: 0, skipped: 1 |
How many weeks in the file were added, replaced and skipped. |
|
Skipped: different language group |
The file belongs to another language group from the database in use, so nothing was imported. |
|
Failed: ... |
The file could not be imported. The reason is given. |
A summary then tells you how many weeks were added, replaced and skipped, and how many files were not imported.
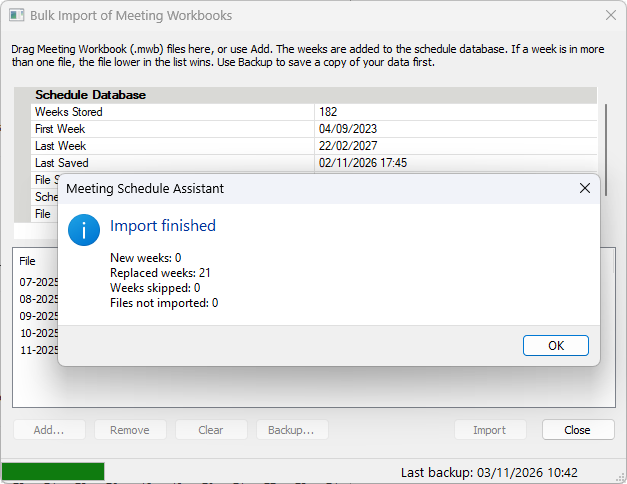
Figure 139. The summary shown when the import has finished.
After the import
The Schedule Database information is updated, so you can check the number of weeks and the first and last week. When you close the window, the main window and the editor show the imported weeks straight away.
Navigation
- Parent topic: Import Menu
- Previous topic: Speakers