Congregations List Setup
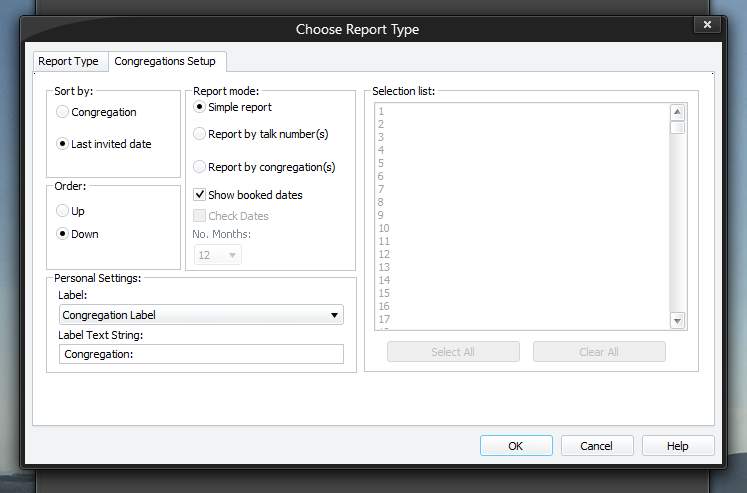
The Congregations Setup page allows you to specify how the report will be created. To be able to access this setup page, you must select Congregations List from the list of report types on the Report Type tab.
The Sort by, Sort order and Personal Settings are saved when you dismiss the window by pressing the OK button.
 It always defaults to the Simple report mode and it doesn't save the list of talk numbers / congregations that you select.
To learn more about the features of this property page, glance down the table below or highlight the control you are interested in by clicking on the screenshot above.
You can choose how you want to sort the entries:
- Congregation
- Last invited date
These settings are only enabled when the Simple report mode is selected.
You can choose in what direction the entries will be sorted:
- Up
Choose Up if you want the report in ascending order. - Down
Choose Down if you want the report in descending order.
These settings are only enabled when the Simple report mode is selected.
You can create three different types of report. Each is referred to as a report mode:
|
Report by talk number Report by congregation |
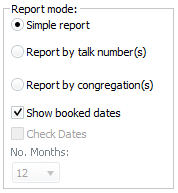
This option is only available when you select the Simple report or Report by Congregation report mode.This option causes the application to take into account future booked dates. Such dates will be prefixed with [X].
These options are only available when you select the Report by Congregation report mode.
Using this setting causes the application to check and see if each speaker's talk has already been heard within the number of months specified. Use the drop-down list to specify the number of months. You can choose:
- Between 1 to 12 months
- 18 months (1.5 years)
- 24 months (2 years)
- 36 months (3 years)
As well as checking the talk numbers, it will also check when the speaker himself was last invited. If the speaker has not been heard within this time period, his name will be shown in bold typeface. Related to this, the report will attempt to display the last date and talk number for the speaker.
By using this option, you can see at a glance which talks for each selected congregation could be assigned to be heard; which speakers have not been heard recently; and which talks each speaker gave last at your hall. This will save you time because you no longer have to work out which talks for a speaker are available to hear etc..
When choosing a talk to be given you need to give consideration to the needs of your congregation and public in your area. Don't just arrange talks by date and frequency heard.
This list box is disabled when the Simple report mode option is selected. Also, the information displayed depends on the current report mode:
- List of congregations
- List of talk numbers
Select which items you want from this list and they will be included in the report.
You can use the CTRL key to select (or deselect) several individual entries (i.e. not a continuous selection).
Press this button to select all the entries in the selection list box.
This button is disabled when the Simple report mode option is selected.
Press this button to deselect all highlighted entries in the selection list box.
This button is disabled when the Simple report mode option is selected.
