Display Options
This topic explains how to control which weeks and worksheet types appear in the Preview Mode views. These options are available in all preview views except Editor.
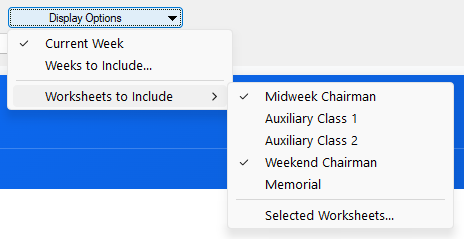
Figure 217. Expanded Display Options menu, showing controls for selecting weeks and worksheet types.
1. Current Week
Shows only the week that is currently selected in the Meeting Editor.
This is especially useful when printing:
- Assignment slips
- Individual worksheets
- Any single‑week output
Toggling the option immediately updates the preview.
2. Weeks to Include
Selecting Weeks to Include… opens a window listing all meeting weeks currently in the schedule.
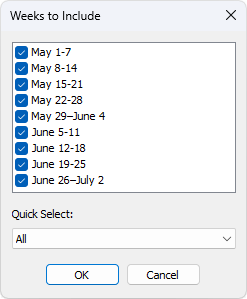
Figure 218. Weeks to Include window, used for selecting which meeting weeks appear in the preview.
You can:
- Check or uncheck individual weeks
- Use Quick Select to apply a preset (e.g., All, None, or one or more months covered by the date range).
- Click OK to update the preview
This allows you to tailor the Workbook or Worksheet views to a specific date range.
3. Worksheets to Include
This section controls which worksheet types appear when using the new worksheet template.
The menu lists all available worksheet categories, such as:
- Midweek Chairman
- Auxiliary Class 1
- Auxiliary Class 2
- Weekend Chairman
- Memorial
You can switch worksheet types on or off individually, or use Selected Worksheets… when you want to select several at the same time.