Script Builder
This window is displayed from within the Meeting Schedule Assistant Meeting Editor.
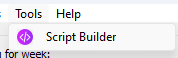
Select Script Builder from the Tools menu.
When creating schedules using the Meeting Editor, you can include Duty Assignment History to consolidate meeting assignments from both editors into a single schedule. To achieve this, follow these steps:
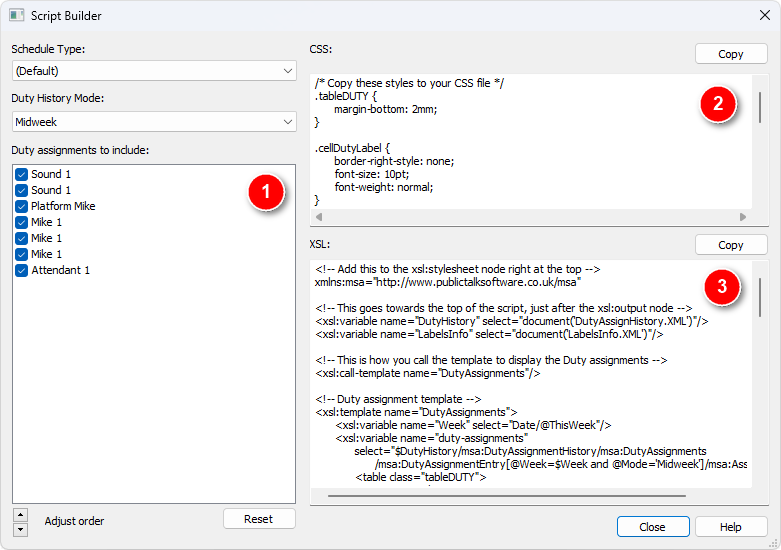
Section One: Configuring Duty Assignment History
- Schedule Type: If you use Schedule Types in the Assignments Editor, select the appropriate type from the dropdown list. This ensures that the Script Builder uses the correct duty history. If you don't use schedule types, leave it as Default.
- Duty History Mode: Choose the right mode based on the Report Mode for the selected schedule type:
- Midweek: For Meeting report mode.
- Weekend: For Meeting report mode.
- Weekly: For Weekly report mode.
 The mode needs to be set correctly because it will make sure you get the correct duty information from the history database.
- Duty Assignments to Include: Use the checklist to specify which assignments you want to include. Only assignments used by the schedule type will be listed.
- Adjust Order: Use the Up/Down buttons to arrange the duty assignments. They will appear in this order on the schedule.
- Reset: Clicking Reset restores the default sort order with all assignments selected.
Section Two: Customizing Duty Assignment Display
In the Script Builder, Section Two provides two tabs:
- CSS: This tab displays the CSS classes that control the appearance of Duty Assignments on the schedule. You can modify these classes to match your desired visual style..
- XSL: Here, you’ll find the XSL script responsible for rendering Duty Assignments on the schedule.
|
Here’s a concise guide to the View menu:
|
Additional Resources
Want to find out more? Try to follow the Tutorial which takes you through the steps involved to add duty assignments to the Legacy template.