Sending S-89 Student Slips by Email
Sending S-89 Student Slips by Email
Meeting Schedule Assistant does not have any automatic way of sending assignment slips to students by email.
It does however include a custom template that you can use to make this task easier.
Open any existing schedule and follow the instructions below.
Overview
Step 1
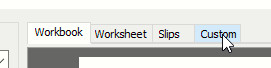 The first thing you must do is click on the Custom view tab.
Step 2
Now select Custom--S-140--Student-Assignments from the dropdown list of styles:

This template has been designed to automatically work for all supported languages and you should see slips that look similar to this one:
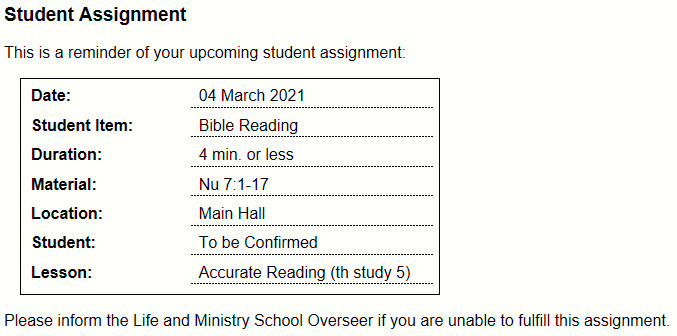
 It is possible to change how the Date and Lesson information is displayed. Have a look at the Configuring the Slip section below.
Step 3
Now you need to select the slip that you want to send by email and copy it to the clipboard. You can select the slip by pressing the left mouse button and dragging the mouse over the content in the view:
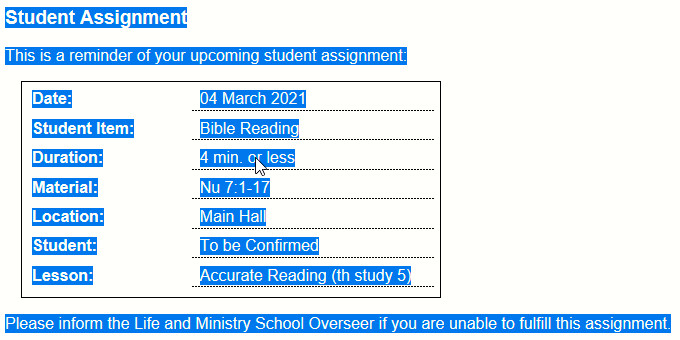
This selection can now be copied to the clipboard by either selecting Copy from the Edit menu or pressing CTRL + C.
See the section Copying the Slip below which shows you an even simpler way to copy the slips.
Step 4
Now you need to paste the information into a new email using your favourite email software. Like this:

Now you can finish composing your email and send it.
Note about Email Format
|
The information pasted from the clipboard is in HTML format so it is best if you use HTML as the format of your email text too. Rich Text should also work fine. The Plain Text format will strip out all of the HTML formatting so it is not the best option to use. |

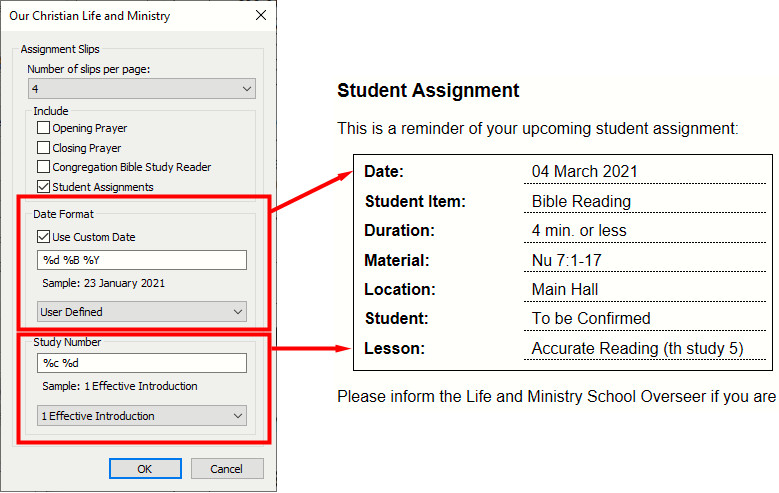
Configuring the Slip
It is possible to change how the Date and Lesson information is displayed on these slips. You will need to temporarily switch to Slips view and then click the small spanner towards the bottom right of the Meeting Editor. This will display the Assignment Slip Settings window.
Copying the Slip
You will find it even easier to copy the assignment slip to the clipboard if you select Custom--S-140--Student-Assignments-Button from the dropdown list of styles:

The slips will look exactly the same in the Meeting Editor with the addition of a Copy Assignment button:
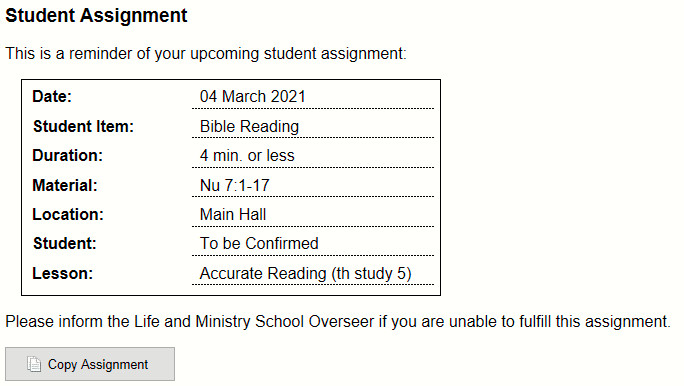
Simply click the button and it will copy that assignment slip (in HTML format) onto the clipboard for you. You will then see a pop-up message confirming that the process has completed.
Pasting SlipsPasting the slip into Microsoft Outlook should retain the styling (as long as the format of the email is HTML or Rich Text). Using online email systems (like Gmail) will most likely remove the styling. If this happens then you can follow this simple workaround:
It might be possible to paste the slips into other social messaging systems (like Messenger, Telegram or WhatsApp) but this has not been tested. |
Advanced Customisation
You can also change how the slips are displayed by adjusting the default template files. You could override the wording if you really wanted to.