Columns
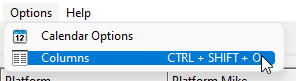
Click on the Options menu and then select Columns.
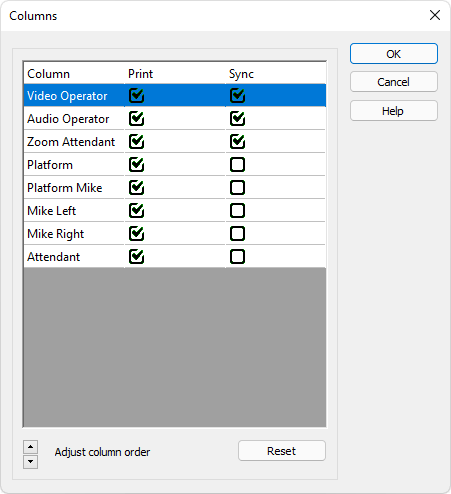
Use this window to change the order or sequence that the columns will appear in the Assignments Editor.
For example, in your congregation the brothers might be accustomed to viewing the Platform details on the schedule in the first column instead of the Sound column as is currently set as default by Meeting Schedule Assistant.
Using this feature you can have the Attendant column appear first (after the Date column) and the Sound column shown as appropriate if that is your preference.
After you have set the correct order and visibility click on the OK button.
 The list of columns shown in the window will depend on the columns requested in the Options section for the particular schedule type loaded.
Adjust Column Order
Select the column title you would like to shift (mouse click or use your keyboard up/down arrows), and then click on the Adjust column order spin arrows to alter the order in which the column appears, relative to the others. The position of the Date column cannot be changed.
Print Columns
You can also use this window to tell Meeting Schedule Assistant if there are any columns that you don't want printed or exported. A scenario where this feature might be useful is when you allocate extra assignments (for example Congregation Bible Study) so that you can avoid conflicts of assignment. But on the final schedule you don't want those assignments printed because they are going to be presented on a Our Christian Life and Ministry meeting schedule.
Sync Columns
You can also indicate which columns you would like included when you synchronize with the online calendars.
Reset
Click this button to quickly reset the column order to the default.
Any saved reports (SRR's) when re-opened will show the column order preference made when the report was created. Each Schedule Type (see Options ) will also store the sequence of columns as set by the user.