Assignments Editor
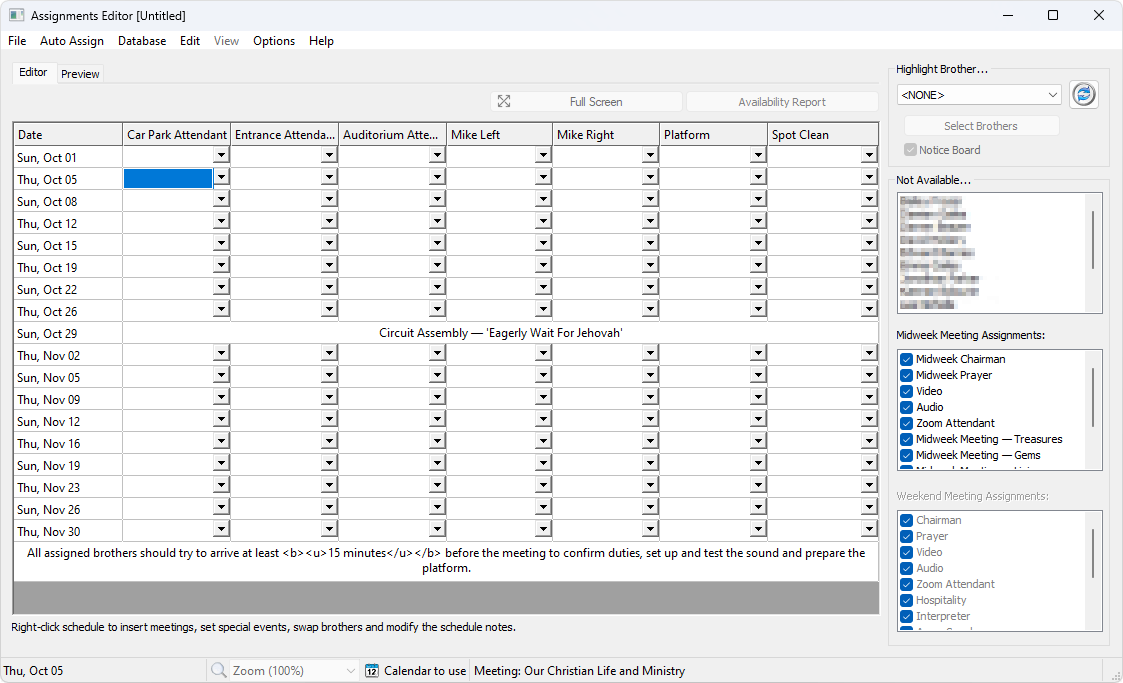
The Assignments Editor is displayed when you select the Create Report or Open Report on the main application File menu. If you open a saved report, then the grid will automatically display all the assignments you previously made, and the file name will get displayed in the top left-hand corner of the dialogue. You can maximise the dialogue if you prefer to have a larger viewing area. This setting gets saved.
 As you select or click a row in the schedule, the Not Available list will update to remind you which brothers can't be assigned.
There are several ways that you can populate the schedule. You are encouraged to read this whole topic to clearly understand what features you have available to you.
Learn more about the Assignments Editor by looking through the rest of this help topic. Or, as an alternative, click on the item you are interested in on the screenshot above.You can directly jump down to any part of the help topic by clicking on the control that interests you on the screenshot above.
The editor has several menus. Click on the links below to learn more about each menu and their available features:
- File Menu
This help topic provides details about the Assignments Editor File menu.
- Auto Assign Menu
This help topic provides details about the Assignments Editor Auto Assign menu.
- Database Menu
This help topic provides details about the Assignments Editor Database menu.
- Edit Menu
This help topic provides details about the Assignments Editor Edit menu.
- View Menu
This help topic provides details about the Assignments Editor View menu.
- Options Menu
This help topic provides details about the Assignments Editor Options menu.
- Help Menu
This help topic provides details about the Assignments Editor Help menu.
- Context Menu
This help topic provides details about the Assignments Editor Context menu.
Editor Tabs
There two tabs that you can choose from in the editor:
- Editor
This is the actual editor where you can add / remove meetings and populate your schedule. - Preview
This displays a preview of the schedule using your current report settings. Click the link to learn more.
Date
 Firstly, you will see a pre-filled in set of dates for your chosen date range. These dates are determined from the program options. So under normal circumstances you won't need to alter these dates. However there are some valid occasions when you might want to change a date (maybe you have the Circuit Overseer and thus the meeting has swapped to another day). So if you need to alter a date, just double click it.
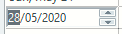
When you double click the date, it looks like the snapshot shown here. You can then click on each part of the date and use the small up/down arrows to alter the value (or you can manually type the new value).
The date is displayed using your PC regional settings or can be customized.
Schedule Notes
You can include a notes at the bottom of your schedule. The notes can be managed via the context menu.
Tip! Did you know that you edit the existing schedules notes by double-clicking the cell?
Fill Manually
|
|

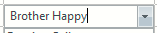
Select a brother
Use this dropdown list to select a brother to highlight all his assignments. This is very useful if you want to print or export the report for a brother in particular, since he will clearly see his assignments.
Highlight Brother
|
It will examine the active schedule and update the list to include all of the assigned names |

Use this feature with caution since the operation can't be undone! You can repeat the process at any time, but you can't undo it. Having said that, the list will revert back to the default set of names the next time the editor is started.
|
|
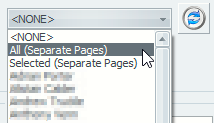
When you use either of these advanced modes for printing and exporting schedules that only the brothers who actually have assignments will be included. There is no point printing or exporting a schedule for a brother who has no assignments.
Notice Board
This option is only enabled when using one of the advanced modes. Set this option if you want to include a schedule with no highlighting for the notice board.
Exit
|
|
Not Available
Everyone in this list will be ignored when you use either of the following tools:
This list of publishers changes as you click on each row in the schedule.
The editor uses this order of precedence to decide who should be included in this list:
- Any name in the Select a brother dropdown list that is not found in any cell dropdown list of names.
- Any name in the cell dropdown lists that is set to be excluded by default.
- Any name in the cell dropdown lists that has a Midweek Meeting assignment (see below).
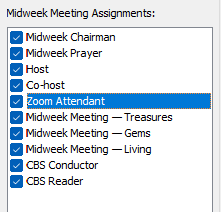
Midweek Meeting Assignments
Anyone that has one of these Midweek Meeting assignments can be added to the Not Available list. Simply toggle the checkboxes as desired. These settings are Schedule Type aware.
|
Note:
|
You can easily see who has what assignment by clicking on the assignment name. This will select all assigned publishers in the Not Available list. Clear the highlighting by:
- Clicking a blank area on the assignments list.
- Selecting another meeting row on the schedule.
The assignment information is obtained from the Assignment History database.
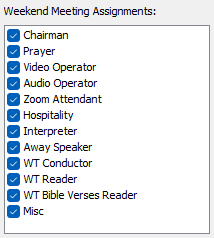
Weekend Meeting Assignments
Anyone that has one of these Weekend Meeting assignments can be added to the Not Available list. Simply toggle the checkboxes as desired. These settings are Schedule Type aware.
|
|
You can easily see who has what assignment by clicking on the assignment name. This will select all assigned publishers in the Not Available list. Clear the highlighting by:
- Clicking a blank area on the assignments list.
- Selecting another meeting row on the schedule.
The assignment information is obtained from the Assignment History database.
Status Bar
The status bar provides you with information about the selected row in the editor. Some shortcuts to frequently used features are also available on the status bar.
Date
The status bar displays the date for the selected row on the left.
The date is displayed using your PC regional settings or can be customized.
Zoom
You can enlarge or reduce the view of the schedule. Look here for more details.
This features is only enabled when you are using the Assignments Editor in Preview mode.
Calendar to use
Hover the mouse over the Calendar to use status bar pane to see which calendars you are synchronizing with:

Reminder
You will notice that as you click on each row, you will see a reminder telling you which meeting this date is for on the status bar. E.g:

Hotkeys
|
Hotkey |
What it does |
|
ALT + SHIFT + W |
Displays the working data folder in File Explorer and automatically selects the active schedule template file. |