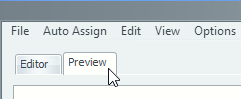
Preview Tab
Click the Preview tab to see a preview of the schedule in the Assignments Editor.
It is possible to see what your schedule will look like in the Assignments Editor. All you need to do is click on the Preview tab. The editor will change to look like this:
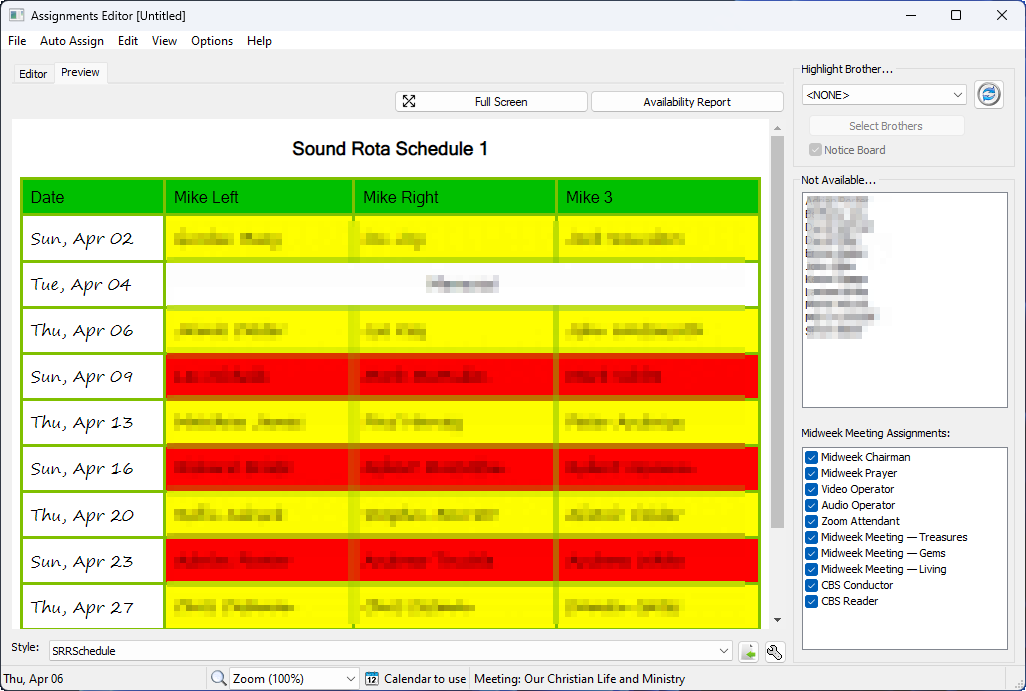
 Names have been blurred for privacy reasons.
A few additional tools become available when you are using the Preview mode.
- Style
Use the dropdown list to select a different schedule template. This feature works exactly the same as as described in the Report Settings help topic. - Import Style
This displays a window for you to select and import existing XSL / CSS schedule template files. - Report Settings
Press the Spanner button to display the Report Settings window. You can make further customizations to the look and feel of the schedule here. This window can also be displayed by selecting Report Settings on Edit menu. You can keep the window visible for as long as you like and continue to use the editor.
Full Screen
The Print window is restricted to the size of the viewer in the Assignment Editor. This might become an issue for you if you are using a smaller monitor. As an alternative, click the Full Screen button, at the top of the editor, to display the schedule in a pop-up window (which is maximized to your monitor):

The Full Screen button is disabled in the Editor view.
Then you can right-click the schedule in the pop-up window and select Print from the context menu. This will display the same Print window, but it will now be displayed at the maximum possible size for your monitor.
Availability Report
Displays the Availability Report in a pop-up window (which is maximized to your monitor)

Zoom
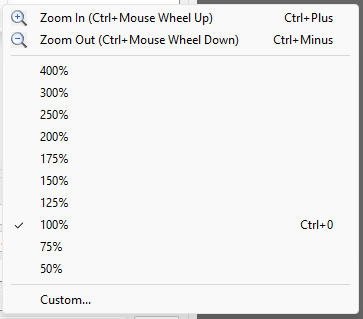
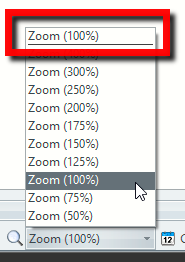
Changing the zoom does not affect the printing output. The control on the status bar is only enabled when you are in Preview mode.
|
If you find that your schedule is bleeding into a subsequent page then consider adjusting the settings on the Print UI window:
As you can see, you can reduce the scale for printing. Usually a small adjustment is all that is required. |

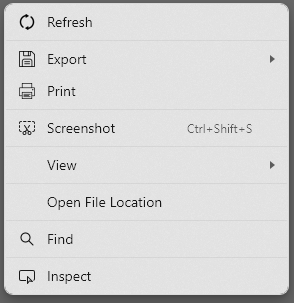
Context Menu
|
Click on the respective links to learn more about each of these features. |