Insert Tab
|
Read more:
|
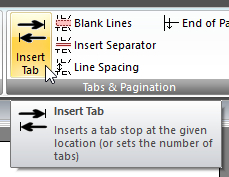
Tabs allow the next piece of text to be indented, and more importantly, aligned to a common column within the output.
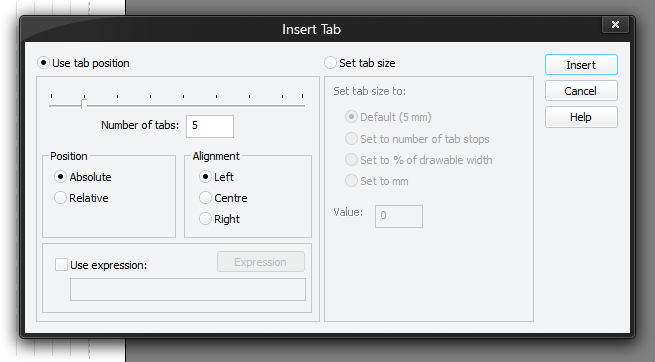
There are two ways of using this window:
- Use tab position
Use this option when you want to insert a tab into the report at a given position. - Set tab size
Use this option to setup how many tab stops you have on each line.
You must press Insert (or Update if editing an existing command) for your changes to be applied to the current script in the editor.
To learn more about the features of this window, glance down the table below or highlight the control you are interested in by clicking on the screenshot above.
You can choose a simple value using either the slider or by typing in the number.
 There may be a small delay if you type in a number before the slider updates to the same position.
You can set the position of the tab to:
- Absolute
Absolute column number from the left of the drawing area. - Relative
Relative tabs from the current position. Relative tabs are useful when you simply need spacing rather than alignment.
Tabs can be set to align on the:
- Left
- Centre
- Right
You can also use expressions to calculate a value. If, for example, you were trying to break up rows of data into three columns, you might use an expression such as:
4 + ( ($iRowNumber % 3) * 12)
The above would ensure that the data from consecutive rows tabs across appropriately to each column.
You can also change the tab size from here and it stays in effect until to change it again or reset it to default.
There are four ways to specify the new tab size:
- Default (5mm)
Puts the tabs back to the default of 5 mm (38 tab stops in portrait, 56 in landscape). - Set to number of tab stops
Puts the tabs as close as possible to nn tabs (you will always get at-least that many). - Set to % of drawable width
Puts the tabs to nn% of the entire width between margins (as close as it can get). - Set to mm
Puts the tabs to nn millimetres (as close as it can get).
Type in the number of tabs you would like to use.value that you would like to use. This option is disabled when Default (5 mm) is selected.
Default Tab Indicators
The sample page view shows vertical lines indicating all the available default tab stops:
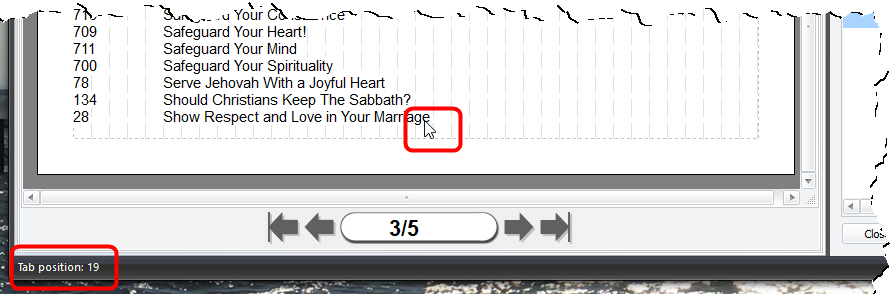
Use these to aid you in determining where an item of text should be placed. Simply hover the mouse over a tab stop and the tab stop number will be displayed in the status bar.
Note that when using the editor, the editor will always show feint lines for the default tab stops. Currently it is not possible to show the tab lines per row of text - this may change in the future. Any rendered text, however, will show the correct alignment based on the current tab settings.