Printing Schedules
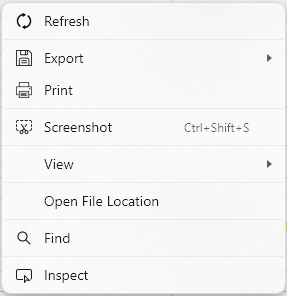
Print the schedule from the File menu or right-click the schedule and select Print on the context menu.

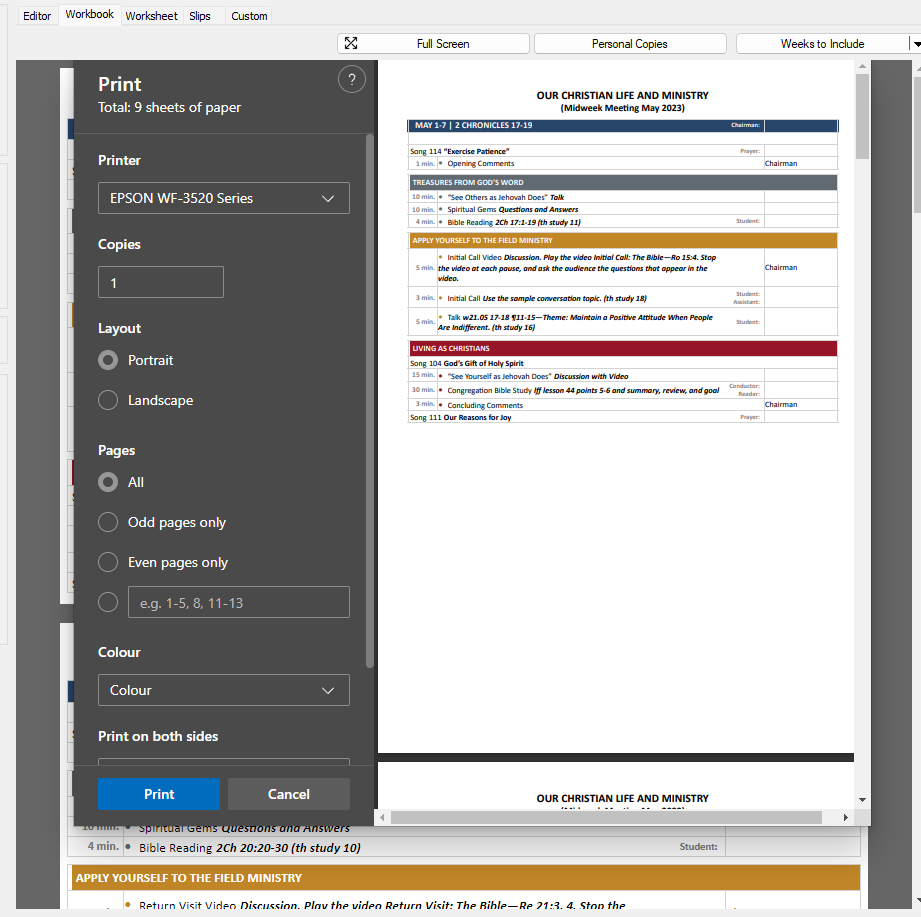
Displays the Print window with a preview:
 Printing should not be done from the Editor view.
Full Screen
The Print window is restricted to the size of the viewer in the Meeting Editor. This might become an issue for you if you are using a smaller monitor. As an alternative, click the Full Screen button, at the top of the editor, to display the schedule in a pop-up window (which is maximized to your monitor):

The Full Screen button is disabled in the Editor view.
Then you can right-click the schedule in the pop-up window and select Print from the context menu.
This will display the same Print window, but it will now be displayed at the maximum possible size for your monitor.
Personal Copies

Clicking the Personal Copies button will display a pop-up window for you to select several publishers from a list and it then creates a schedule for each individual, with their name highlighted for each of their assignments.
The Personal Copies button is only enabled in the Workbook view.
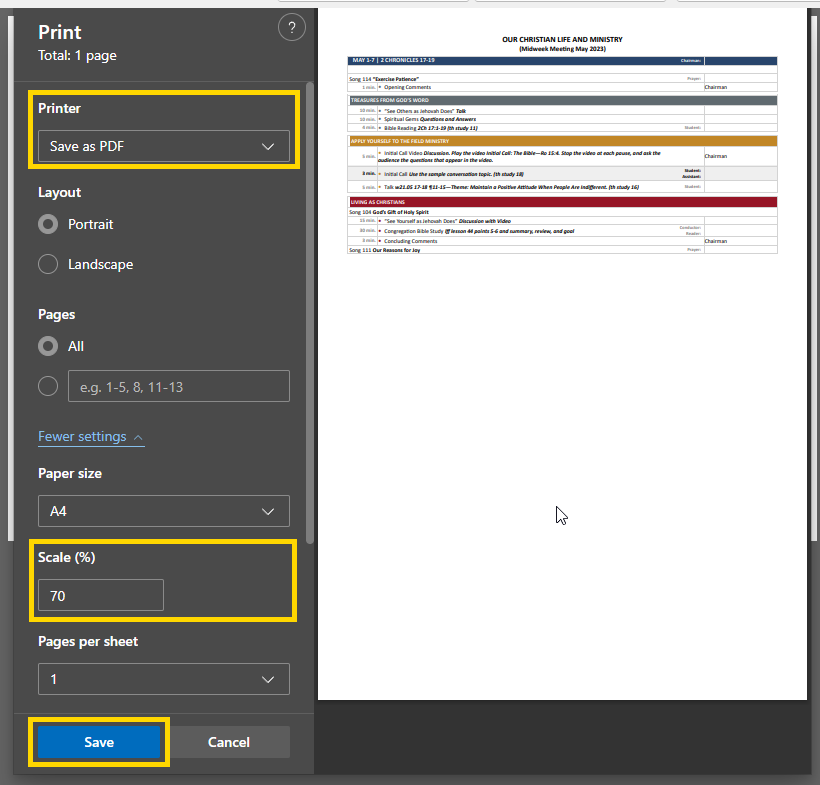
Save as PDF
Did you know that you can directly save the schedule as a PDF file from the Print window? Select Save as PDF in the list of printers and adjust the other properties as required (e.g. paper size, scale factor, margins and so on) and then click Save.
A file window is then displayed for you to specify the name / location of the PDF file. Then, after you click Save again, this small Downloads window will appear:
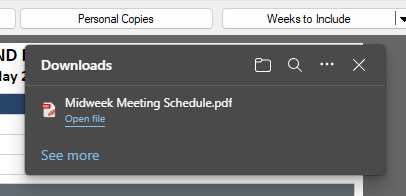
From here you can:
- Open the PDF file in the interval viewer.
- Show the PDF file in File Explorer.
There are other things you can do too, like clearing the download history list by pressing the ... at the top.
You can also directly export the schedule to a PDF file and have it displayed in your default PDF viewer.