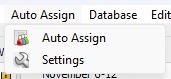
Auto Assign Menu
Overview of the Meeting Editor Auto Assign menu:
 Learn more about the Auto Assign menu by looking through the rest of this help topic. Or, as an alternative, click on the menu item you are interested in on the screenshot above.
Let’s explore its essential features:
The Meeting Editor displays the Assignment History to help you prepare your schedules. But it is still a manual process of selecting everyone, either from the dropdown lists, or by clicking on their name in the history lists.
The Auto Assign tool has been implemented to simplify this process and reduce the amount of time involved in making schedules.
How Does It Work?
It principally works in the same way as the Single Column feature in the Assignments Editor. Are you familiar with that tool?
Picture the schedule like this:
- Think of the Assignments as Columns.
- Think of the Midweek Meeting as Rows.
This is how it works (in order of priority):
- The Auto Assign tool will work its way through each of the Assignments.
- For each Assignment, it will work its way through each Midweek Meeting to populate that Assignment.
Note that the existing names (if any) will be replaced for all the assignments you want to auto assign. But, it will take into account any existing names for the assignments that are not auto assigned (to avoid conflicts).
Auto Assign
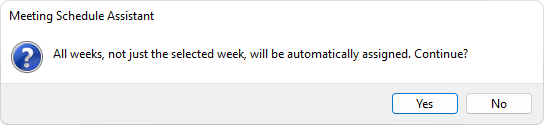
Starts the Auto Assign process.
- The following pop-up message will be displayed if the Weeks to include setting is not set to Limit to selected week:
- Next, the Select Starting Names window will be displayed if configured in the Settings. The names will be randomly selected when the setting is switched off.
Settings
Displays the Settings window to allow you to fine-tune how the Auto Assign tool will work.