Special Events
Special Events is available from the Options menu.
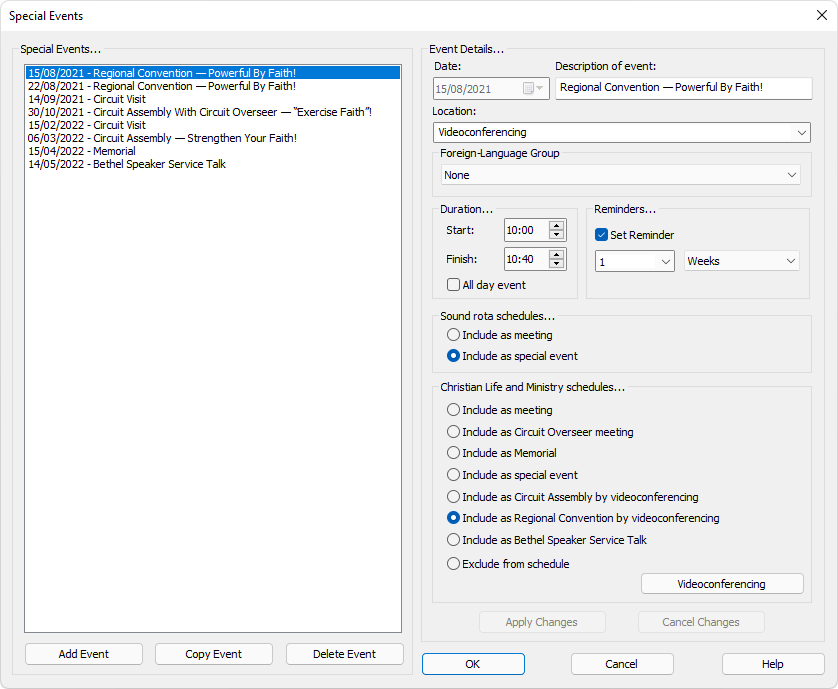
The Special Events window is an easy way for you to manage all of the special meetings that occur during the year. All events that you add into this dialogue will automatically be included on any new schedules that you produce. When creating new schedules, the program will determine which (if any) of the events need to be included, and it will insert them automatically for you. All your special events get saved to a file on your computer and is included in any backup / restore that you perform.
Every time the window is displayed, the program will automatically list all existing events that you have entered. However, it will always exclude any events from the past. This is to ensure that the file which holds the event details does not get too large. It is assumed that all events that have already happened are no longer required.
 Your changes to the event details are not actually made permanent until you click OK or Close on the Special Event Manager window!
Add Event
Press Add Event to display the Special Event window. Once the details have been set, press the OK button. A warning displays if you try to add an event on the same day as another event. Otherwise, the event gets added into the event list and is automatically selected for you. Press the Cancel button if you decide you want to back out of the operation.
The window that is displayed contains the same details as those on the right in the event manager (see below).
Copy Event
Press Copy Event to duplicate the selected event on another date.
A window is displayed for you to specify the date for the duplicated event.
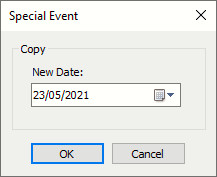
All information will be copied over to the new event.
The button is disabled if you have unsaved changes for the current event.
Delete Event
Press Delete Event to delete the currently selected event from the list. You are asked to confirm your actions as you might have pressed the button by mistake and deleting an event will be permanent. This button is disabled when there are no events in the list or no event is actually selected.
You can also press the Delete key to delete the selected special event.
Event Details
Select the date for the special event (this is disabled if you are editing an existing event).
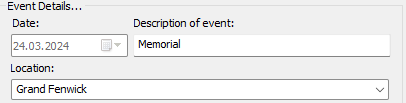
- Type in the description for the event (or use the dropdown list to choose one of the predefined choices).
- See notes below about the location details.
Location
You can specify the location of the special event by using the drop down list or typing in the address:
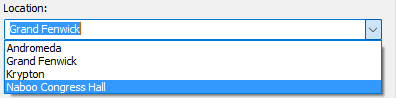
Note that this is a dynamic dropdown list. This means that you can select locations in the drop list and press the DELETE key to remove them from the list. Also, you can type new locations into the edit box and they will be displayed in the drop list the next time the window is displayed (you must close the dialogue with OK or Close for these changes to be made permanent).
Why specify a location? It is particularly useful for when you send your event information to your Google Calendar.
For example, here is a snapshot taken from Google Calendar. The location has been specified as you can see here:
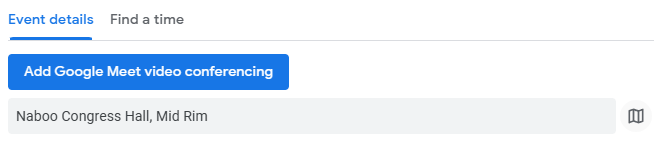
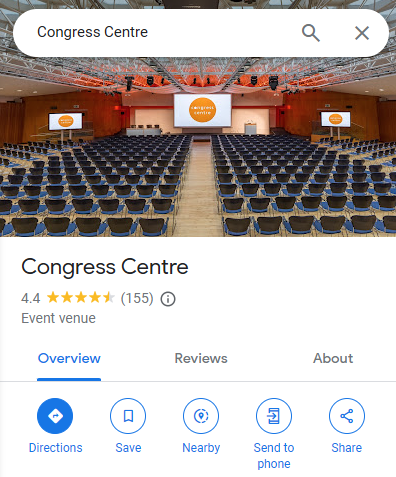
Can you see the map button (highlighted in yellow)? This will display the location on a map. For example, this is the location of our Assembly Hall.
This information is going to be more useful for others with whom you share the calendar with.
Note that there is a facility to specify the default location for your meeting events too. This can be found in Google settings.
Foreign-Language Group
The special event can be assigned to a specific foreign-language group. This information is taken into account when you use the Meeting Editor.
The editor decides which special events to include. Either:
- All events where the foreign-language group is set to None. (i.e. You are not using the foreign-language group mode).
- All events where the foreign-language group is not set to None. (i.e. You are using the foreign-language group mode).
Duration and Reminders
You can specify the start / end times for your special event:
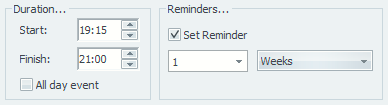
These options are disabled when the All day event option is set. These options affect the events created in your Google Calendar.
You can override the default reminder settings for each event created in your Google Calendar.
Include As
Schedules are created for a variety of reasons. So we have to cater for several scenarios and it depends upon what you are assigning and what type of schedule you are preparing.
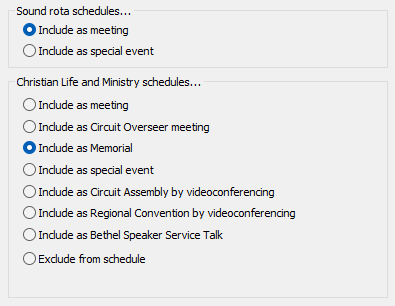
Sound Rota schedules
- Include as a meeting
This event will be treated like a normal row on your schedule. - Include as a special event
This event will cause all cells to be merged for the row on the schedule and the event details will be displayed.
Christian Life and Ministry schedules
- Include as a meeting
This event will get added as a regular meeting. It will show the event symbol next to the date and the event details will be displayed in the notes section. - Include as a Circuit Overseer meeting
This will automatically set the circuit overseer setting in the editor and thus adjust the order of assignments on the schedule. - Include as Memorial
This will cause the schedule to show just the event details and location for the event. However, it will still show the other meeting for the week on your schedule. - Include as a special event
This will cause the schedule to show just the event details and location for the event. - Include as Circuit Assembly by videoconferencing
This will enable the Videoconferencing button to allow you to provide extra information to display on the schedule. - Include as Regional Convention by videoconferencing
This will display the Videoconferencing button to allow you to provide extra information to display on the schedule. - Include as Bethel Speaker Service Talk
This will display the Bethel Speaker Service Talk button to allow you to provide extra information to display on the schedule. - Exclude from schedule
There may be some events that you want included only on sound rota schedules. This setting will suppress them from being included in the midweek schedules.
More Information:
Videoconferencing
Since March 2020 we have been using videoconferencing for our Meetings and Special Events. This is due to the COVID-19 pandemic and at the time of writing we do not know when we will be able to return to our normal routine.
The way these videoconferencing events work and how they affect the Midweek Meeting is a bit different to regular events. As a result this new feature was implemented in version 20.2.9. Please read this help topic to find out about videoconferencing events and how they work in the Meeting Editor.
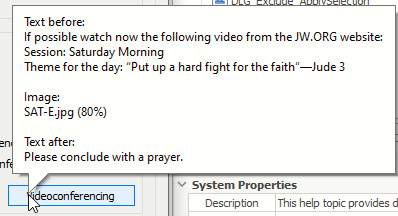
You can hover your mouse over the Videoconferencing button to temporarily display the current information in a tooltip:
Apply / Cancel Changes
Each time you select an event in the list, the date, description and location get revised. Note that the date is always disabled. So if you want to change the event date, you must delete the existing event and add the revised event with the modified date.
Or, you can use the Copy Event to copy it to the correct date and then delete the original.
The description / location of the event can be changed to whatever you like. As soon as you change either of them, the Apply Changes and Cancel Changes buttons become enabled. So, if you want to back out, press Cancel Changes. You will not be able to add or delete events until you have either applied or cancelled your changes.
OK / Close
Press OK or Close to save the updated special event information to your computer.
Cancel
Press Cancel if you want to abort the dialogue. If the Cancel button has changed to Close, then you can't undo any changes that you have already "applied". Note that whilst changes are not yet permanent (saved to disk) until you press OK / Close you can't undo them after "Apply Changes" has been pressed. Thus this button will change to Close to indicate that you can no longer back out of the changes already made