It is possible to change the information that is displayed on this report. Detailed information can be found towards the end of the Advanced Customisation help topic.
How To Do It
Step 1
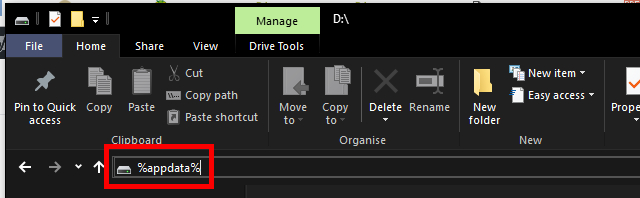
Bring up your File Explorer and navigate to your User Application Data folder. The easiest way to do this is to simply type %appdata% in the address bar and hit the Enter key:
Step 2
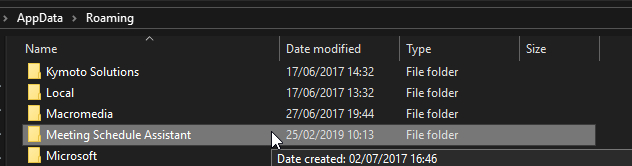
Locate the Meeting Schedule Assistant sub-folder and double-click:
Step 3
Next, you need to locate the Workbook-S-140-Weekend Meeting Only.xsl file and duplicate it with a new name. Always change the name by adding a suffix. For example:

Step 4
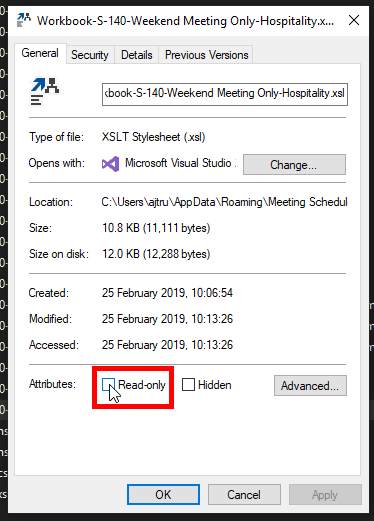
Right-click the new file and select Properties. On the popup window un-tick the Read-Only attribute:

Step 5
Now you use a text editor to customise the new file. One good editor is Notepad++ and my personal favourite is Microsoft Visual Studio. Using the text editor you need to modify the <xsl:template match="HomeTalk"> section so that it looks like this:
<!--Displays the home talk speaker details-->
<xsl:template match="HomeTalk">
  <tr>
    <xsl:apply-templates select="Time" mode="End"/>
    <td class="cellWEEKENDText">
      <div class="floatRight">
        <xsl:value-of select="//Labels/PTS_Congregation"/>:
      </div>
      <span class="textPTSLabel">
        <xsl:value-of select="//Labels/PTS_Speaker"/>:
      </span>
       <span class="textPTSValue">
        <xsl:value-of select="Speaker"/>
      </span>
    </td>
    <td class="cellName">
      <xsl:value-of select="Congregation"/>
    </td>
  </tr>
  <tr>
    <td class="cellWEEKENDText" colspan="3">
      <span class="textPTSLabel">
        <xsl:value-of select="//Labels/PTS_Theme"/>:
      </span>
       <span class="textPTSValue">
        <xsl:value-of select="Theme"/>
      </span>
    </td>
  </tr>
  <tr>
    <td colspan="2">
      <div class="floatRight">
        <xsl:value-of select="//Labels/PTS_Hospitality"/>:
      </div>
    </td>
    <td  class="cellName">
      <xsl:value-of select="../Assignments/Hospitality"/>
    </td>
  </tr>
</xsl:template>
Save the file once the changes have been made and close the editor.
Step 6
Finally, start Meeting Schedule Assistant and create or open your schedule. Now you can select your newly customised style from the drop-down list:

That should be it! The newly customised style can also be directly downloaded from here for your convenience.
Download
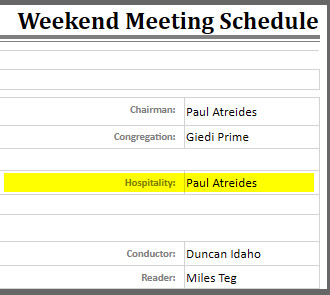
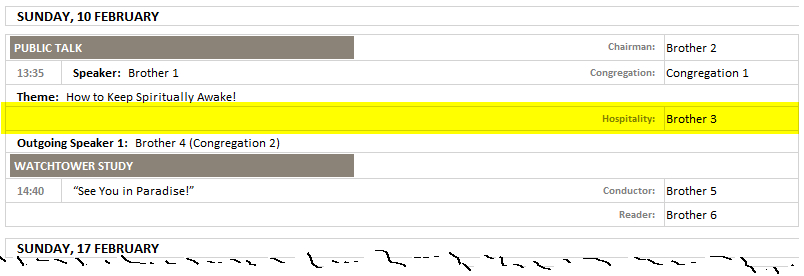
With Meeting Schedule Assistant, you can easily create custom reports or use existing ones to meet all your reporting needs. Here’s an updated version of built-in Weekend Meeting Report that includes the Hospitality information.
For complete details on this report and user support, please follow the provided link.